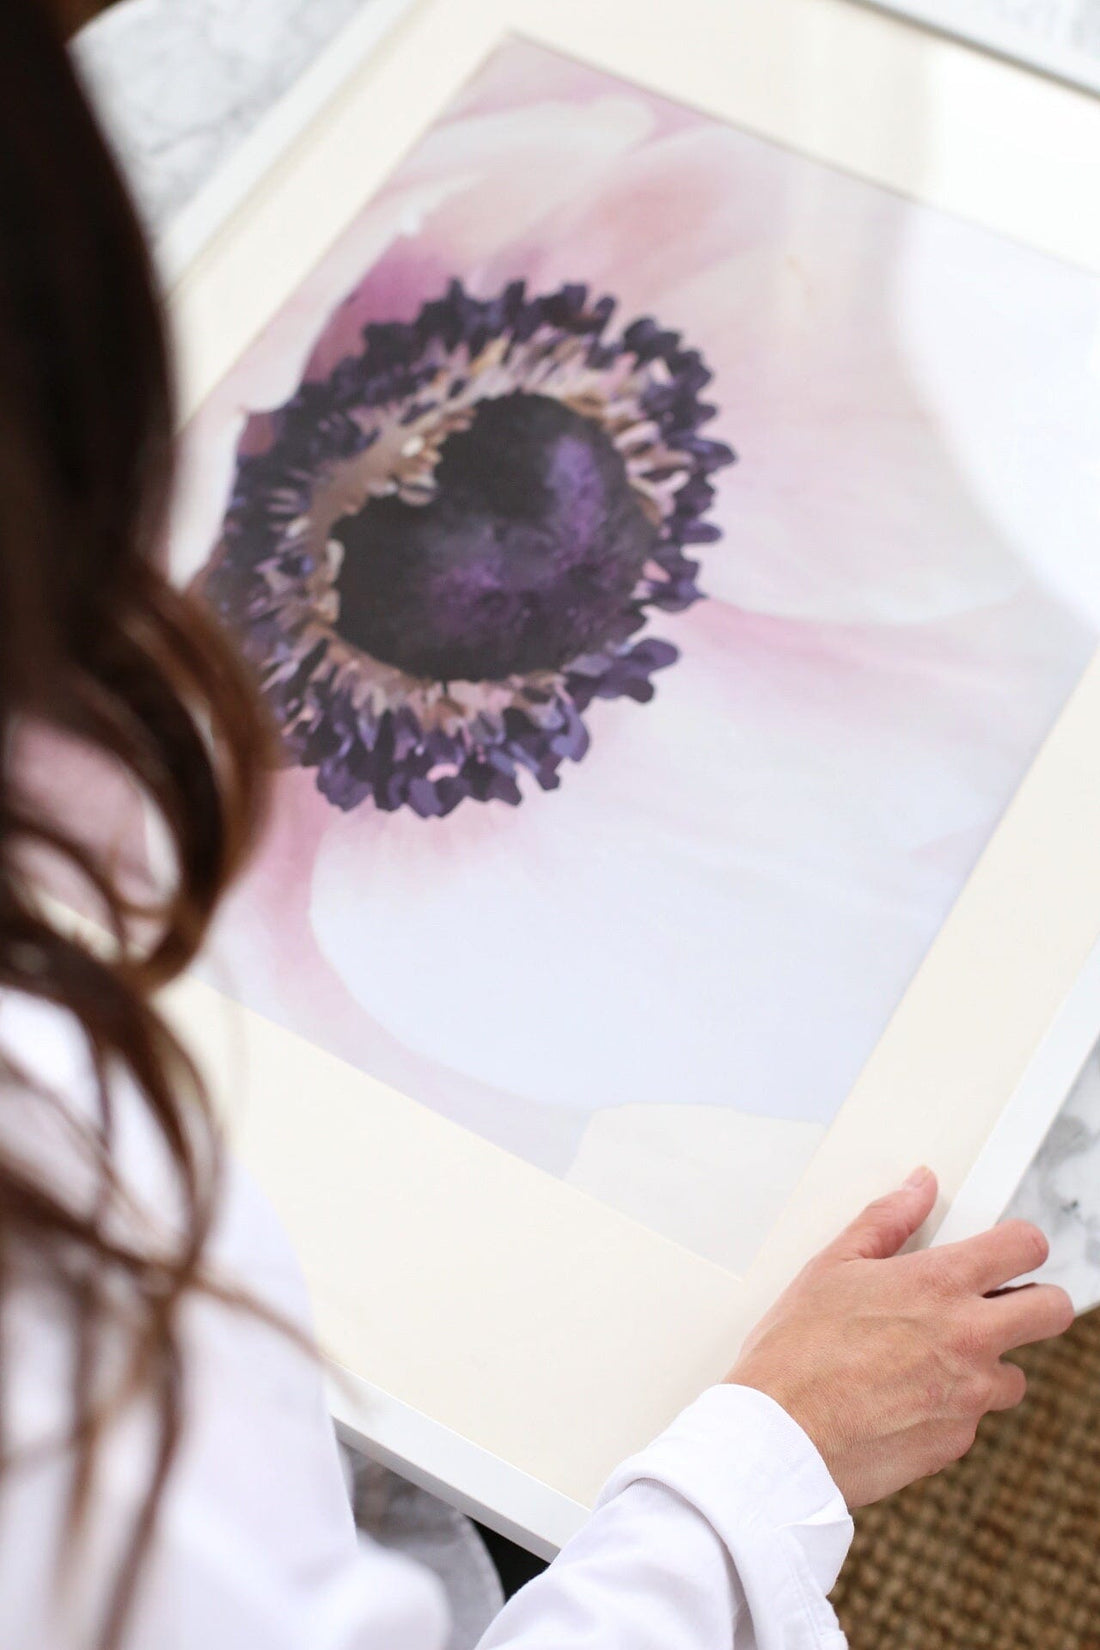
There’s both obvious and creative ways to use our decals. Although to be fair, most of them usually include putting the decals directly on your walls. It’s like a no brainer, right?But we decided to mix it up a little bit. We decided to deliver a fresh décor idea using our fresh new Garden Flower decals. We decided to FRAME a decal rather than merely stick it on the wall. And not to pat ourselves on the back or anything, but we are pretty pleased with the result. We think you will be too!
To begin, we chose an Urbanwalls decal pack. And though you can order literally any of our decals, we are currently pretty in love with our large Garden Flowers pack, so that was our pick!
Now, once you have your decals, pick ONE of the freestanding blooms for the project. Make it a favorite, because this is the little guy you’re going to frame.
Next, choose a frame! We love the idea of pairing a gold or white frame with these airy blossoms, so that’s the route we went with…but you do you, boo boo!
Once you’ve found your frame, cut a sheet of paper to fit inside the glass. Pro Tip: it may be easiest to just trace the generic paper or “fake picture” that comes inside your frame to ensure your paper is the same dimension.
The framing technique is a great way to incorporate your decal pack into other locations throughout the house. So, once your paper is selected and cut, peel and stick your decal on the paper and, voilà!—The prettiest piece of artwork to seamlessly complement your chosen décor.


