
Adding a fantastic focal point to a room doesn’t have to be as expensive (or difficult) as you may think. Sometimes all you need is an unexpected pop of pizzazz to make your statement.
We’ve brought you a fresh technique for the new Spring Collection wallpaper (or decals) you’ve been eyeing—a way to dress-up your dresser! Plus, this DIY tutorial is just one of many you’ll get exclusive access to when you sign up for our e-mail list. It’s time to think outside the box—or drawers, as the case may be in this Step-by-Step How-To…

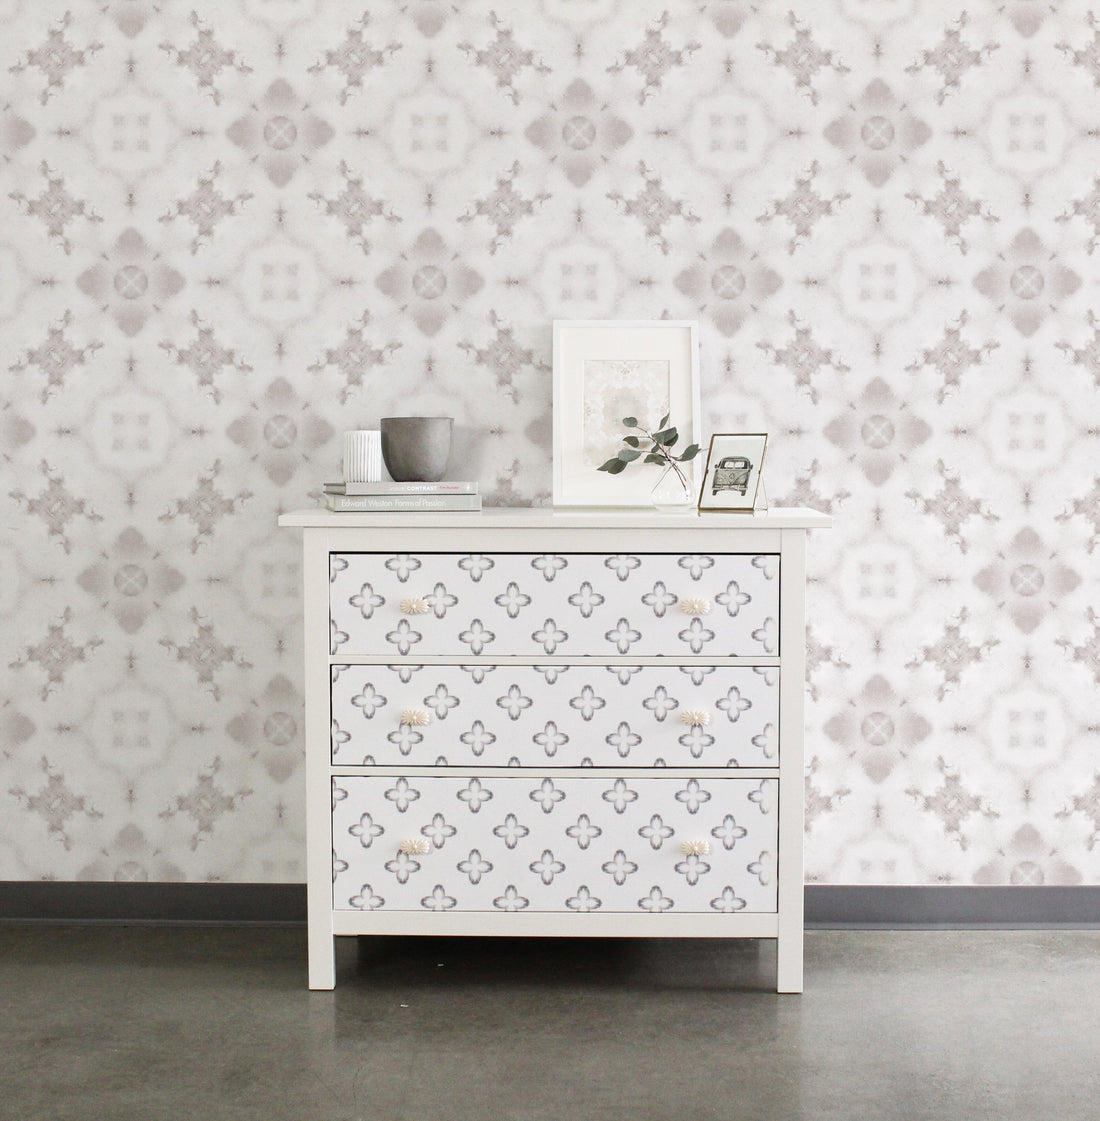
CHOOSE YOU DRAWERS
We picked a white Hemnes chest of drawers because it had a smooth, painted finish, perfect for adhering wallpaper panels. Be on the lookout for flat drawers without beveled or grooved edges—it will simplify the cutting and sticking process later!
PICK YOUR WALLPAPER
For this tutorial, we chose our Oasis wallpaper from the new Spring Collection. While wallpaper makes covering the entire drawer easy, it is important to note you could achieve a similar decorated effect with a pack of decals.
REMOVE DRAWERS


Before beginning, unscrew the drawer knobs and carefully remove the drawers from the dresser, placing them on the floor of your workspace. (We recommend not applying the wallpaper on carpet, but rather use a hard surface like a floor, garage, or table.)
MEASURE UP

On a hard, flat surface, lay out one of your wallpaper panels. Place the drawer face down and trace around the shape with a pencil.
CUT IT OUT

Before grabbing the scissors, ensure that you add extra length and width to the area you’re cutting out. One simple way to do this is by leaving the drawer face down on the wallpaper while making the initial cut. Remove the drawer and continue to cut down that line. You’ll want to add about an inch as you cut so that you can wrap the wallpaper to the inside of the drawer for a smooth, seamless look.
DOUBLE-CHECK

After you’ve cut the panel to size, hold it against the drawer to ensure the sizing is correct.
YOU'VE GOT A-PEEL

Start in one of the corners and slowly peel the backing from your freshly cut panel.
STICK WITH US

Starting on one end, line up your panel with the drawer edge and tack it in place. Remember to allow some bleed on all sides so you can wrap the wallpaper around your drawer edges later! For now, stick it in place and smooth it down.
EX-SQUEEGE ME?

Bubbles? No problem. Break out your Squeegee or credit card and get to smoothing.
WRAP IT UP

Finally! You get to wrap those edges with that little extra something-something you cut.
REPLACE KNOBS

Hopefully you didn’t misplace the drawer knobs, because now is the time to put them back! Feel the front of the drawer for the hole (you should be able to feel it through the wallpaper) and simply screw them back in. The wallpaper will give way, giving it a flush finish.

Repeat……All the steps until all of your drawers have been beautified! Then place them back into the dresser and admire your handiwork. Ta-Da! You’re a domestic goddess. Always knew you were.
Psych! You thought you were done, but not quite. Don’t forget to photograph your gorgeous new dresser and tag us using @urbanwalls and #mywallsmyway. Then be sure to sign-up for our email newsletter so you can get more exclusive, one-of-a-kind, insider DIY tutorials just like this!