
Every little girl loves picking flowers and gathering them into little bouquets. That’s why we love using our Graphic Flower decal pack for little ladies of all ages!
Follow along with our easy 3 step process to learn how to install a similar vibe in your own space!
1. Arrange
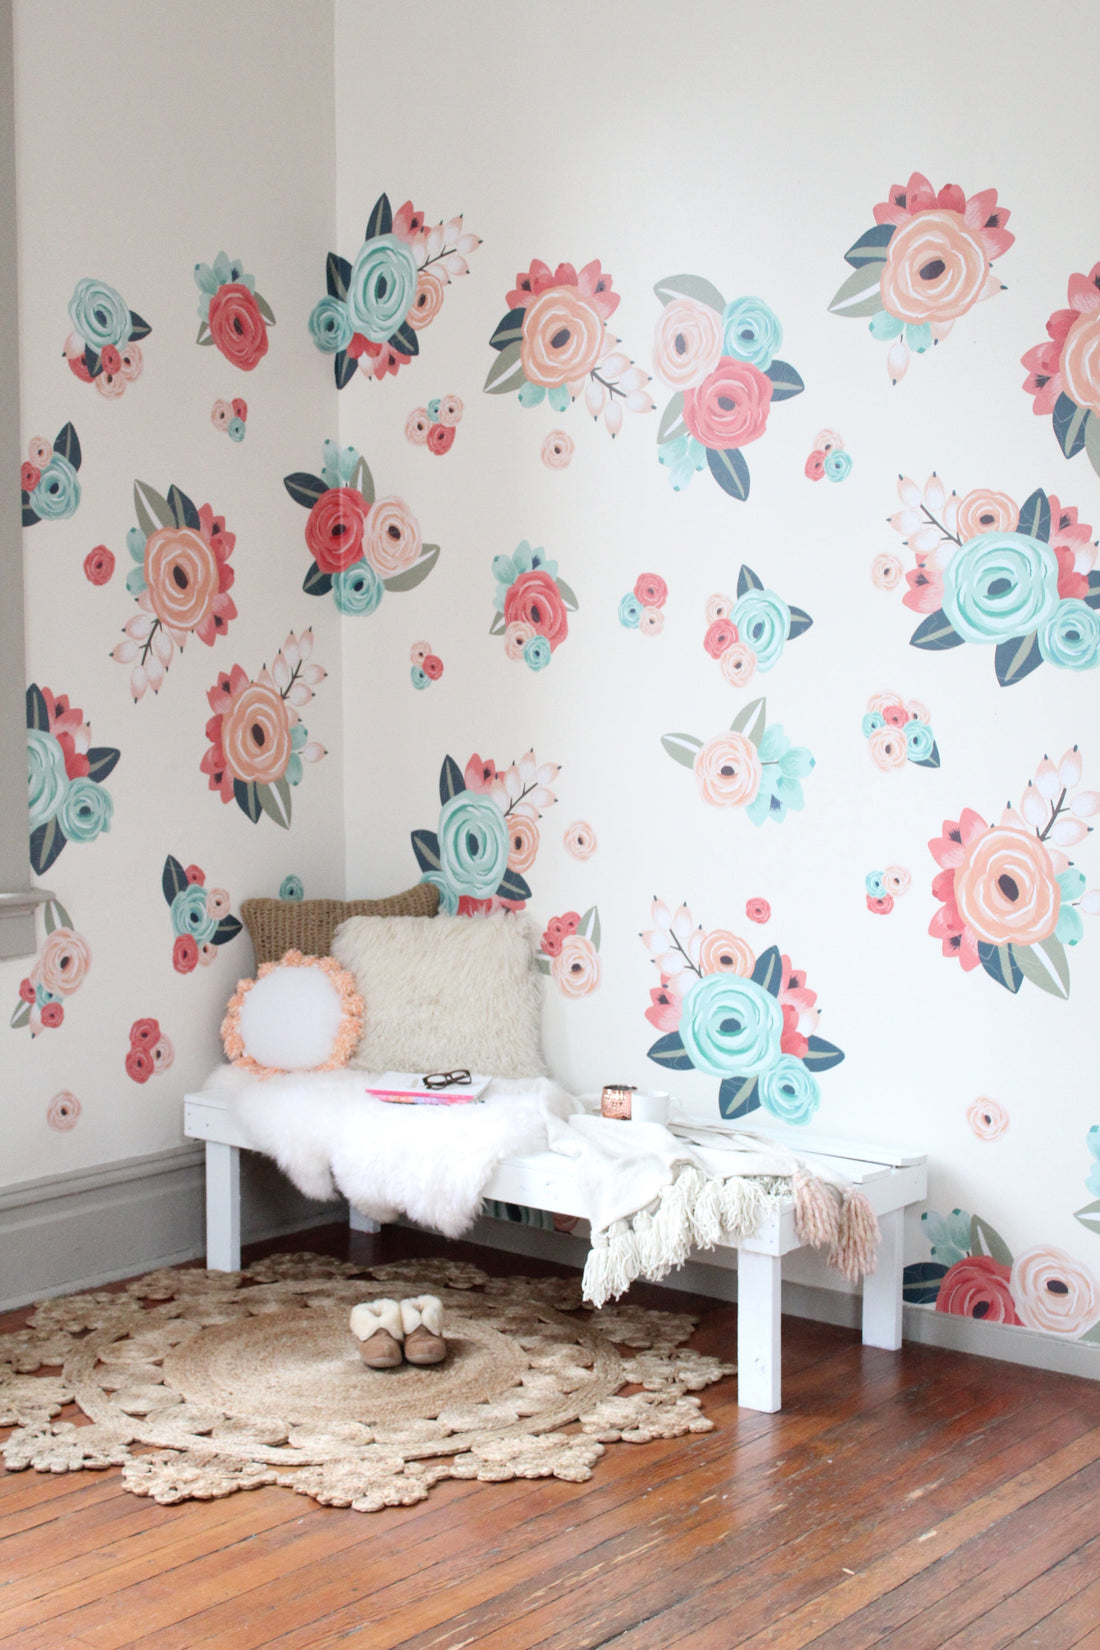
While you can definitely cluster our Graphic Flowers into a focal point, we love the way these blooms look spaced out like wallpaper. After you’ve chosen the wall (or walls) you’d like to use, arrange the decals in the space by taping them using painters or masking tape. This allows you to rearrange your design before permanently sticking it. If you’re looking for uniformity, we highly suggest breaking out a measuring tape and making pencil marks to use as a guide.
Want a pro tip? Don’t be afraid to cut the decals! We know it can seem horrifying to cut your brand new decals, but the results are well worth it. Take a look at the flowers along the baseboards and windowsill—those little babies were sliced in half for a more natural look!
2. Peel
Do your walls look awesome? If the answer is yes, it’s time to peel the adhesive back from your decals.
Keeping the bloom tacked to the wall, lift the decal so you can see the back. Starting in a corner, slowly peel the back from the decal to expose the adhesive. As you pull, stick and smooth the decal to the wall, slowly working your way to the bottom.
Now peel the front paper from the flowers, exposing their true colors! Remove the paper slowly. Remember, slow and steady wins the race.
3. Smooth
Taking a credit card or squeegee, smooth any bubbles out of your graphic flowers. Go you! You’re a regular pro, aren’t you? Now go get a sweet tea and relax in a swirl of blossoms!
We’d love to see how you arranged our Graphic Flower decals! Tag us on Instagram (@urbanwalls) and add the hashtag #thesearemyurbanwalls so we can see your take on this springtime dream

